
How to Edit Email Settings on Your iPhone for a Personalized Experience
Introduction
Customizing email settings on your iPhone is crucial for a seamless and efficient emailing experience. Whether you’re trying to adjust your notifications or enhance your email security, having control over these settings ensures that your email application operates exactly how you need it to. This guide walks you through every step necessary to fine-tune your email setup, offering a more personalized and efficient tool right in your pocket.
Accessing Your Email Settings
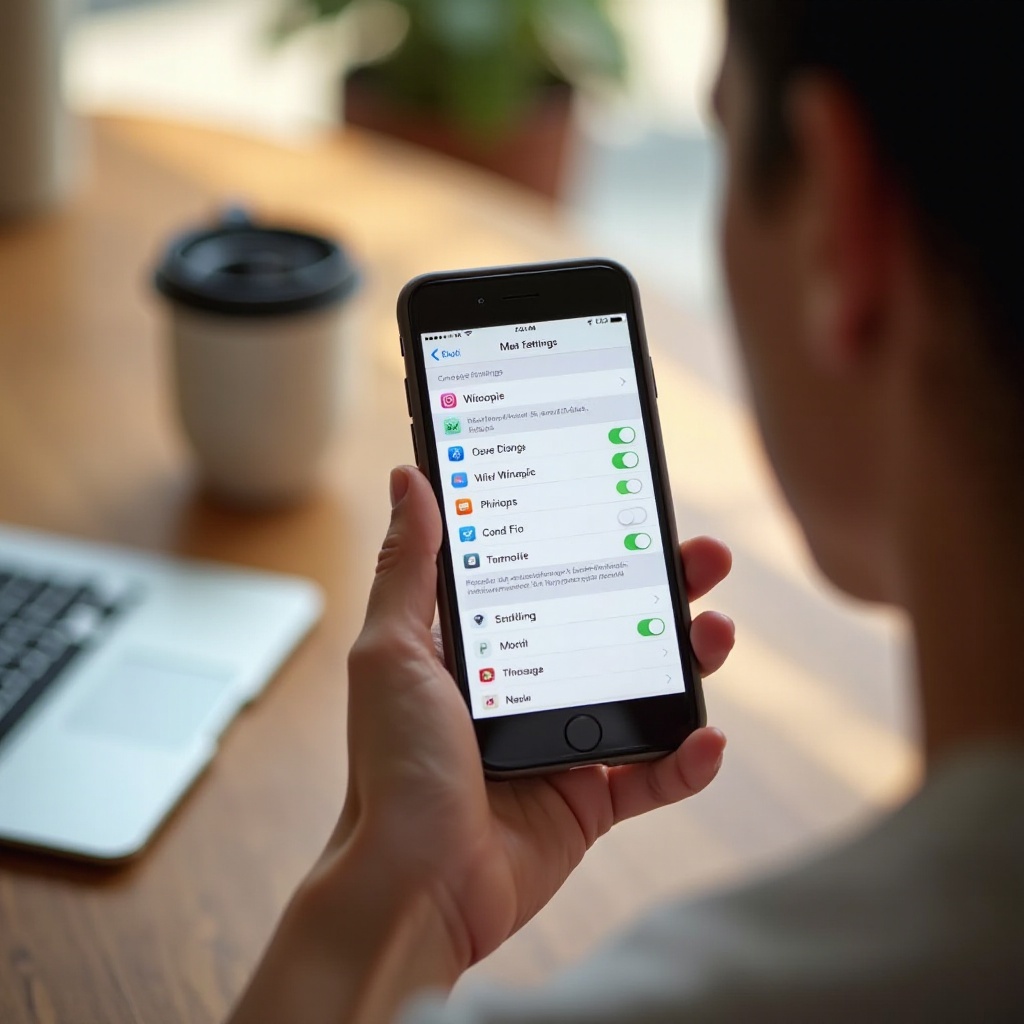
Before personalizing how your email application works, you need to access your settings. Here’s a straightforward way to do this:
1. Open the ‘Settings’ app on your iPhone.
2. Scroll down and tap on ‘Mail.
3. Next, select ‘Accounts’ to display all email accounts linked to your device.
4. Choose the email account you wish to modify and tap on it to enter its settings.
With these steps, you’re now ready to edit settings to improve how you manage your emails on your iPhone. The next step involves customizing these settings to enhance your email experience.
Customizing Email Account Settings
Having accessed the settings, it’s time to adjust your email accounts for optimal performance. This section allows you to configure your email servers and adjust the behavior of your email accounts.
– Tap on ‘Account’ to adjust the server information such as incoming and outgoing mail servers.
– Ensure that you have the correct server settings to facilitate smooth email operations.
– For users managing multiple accounts, apply these settings to each one for consistency.
Once your account settings are calibrated, the next focus is on optimizing your notification preferences for better productivity.
Optimizing Notification Preferences
Efficient email management also means receiving the right notifications at the right time. To optimize your email notifications:
1. Head back to Mail settings and tap on ‘Notifications.
2. Decide if you want sound alerts, badge app icons, or lock screen notifications.
3. Consider setting custom notifications for VIP contacts to ensure you never miss an important email.
With notifications optimized, you can focus on enhancing the security of your emails, protecting sensitive information and communication.
Enhancing Email Security
Security is paramount when it comes to handling emails on your iPhone. Here are some steps to improve it:
– Enable ‘SSL’ encryption for each email account to secure data exchange between your iPhone and mail servers.
– Use strong, unique passwords for email accounts and enable two-factor authentication where possible.
With your emails now more secure, the next step is organizing them efficiently for easier management.
Organizing Your Inbox Efficiently
A cluttered inbox can be overwhelming. Here, we’ll discuss how to keep it organized for better productivity:
– Use folders and subfolders to categorize your emails by topic, sender, or priority.
– Set up automatic filters to channel certain emails directly into their corresponding folders.
An organized inbox simplifies your workflow by ensuring that you can quickly locate and respond to emails that matter. However, even with an organized system, issues may arise, which leads us to troubleshooting common problems.
Troubleshooting Common Issues
Sometimes, things can go awry despite best efforts. Here’s how to handle common issues:
1. Not receiving emails: Verify that your internet connection is active and server settings are correct.
2. Notification problems: Check if notifications are enabled in both your settings and the Mail app.
3. Emails not sending: Re-check your outgoing mail server information for accuracy.
These issues can often be resolved by reviewing and adjusting your settings as necessary. If you encounter persistent problems, consider consulting the Apple Support guide for more detailed help.
Conclusion
By following this guide, you’ve customized your iPhone’s email settings to better suit your needs. From accessing your settings and modifying account preferences to optimizing notifications and ensuring email security, you’ve established a robust system for handling emails efficiently. Regular tweaks and maintenance of these settings will further enhance your email experience, making it more secure and personalized.
Frequently Asked Questions
How can I reset my email settings on iPhone?
To reset your email settings, go to ‘Settings,’ select ‘Mail,’ tap on ‘Accounts,’ and choose your account. Remove the email account and then add it back to reset it to default settings.
Why am I not receiving email notifications on my iPhone?
Ensure notifications are enabled for the Mail app under ‘Settings’ -> ‘Mail’ -> ‘Notifications.’ Consider adjusting alert settings on the lock screen.
Can I edit email settings for multiple accounts simultaneously?
Yes, you can. Select each account under ‘Settings’ -> ‘Mail’ -> ‘Accounts’ and adjust them individually to meet your preferences.