How to Install a Rear-Facing Infant Car Seat: A Comprehensive Guide
Introduction
Properly installing a rear-facing infant car seat is crucial for your child’s safety during travels. Ensuring the correct setup not only protects your child in case of unexpected events on the road but also provides comfort in everyday journeys. This definitive guide walks you through the essential steps for installation, highlights common pitfalls to avoid, and answers pressing questions about car seat safety. With this information, you’ll be equipped to confidently and securely install your car seat.
Understanding Car Seat Types and Components
Familiarizing yourself with car seat types and their components is the first step in the installation process. Rear-facing infant car seats usually come with a detachable base that can be secured using either the vehicle’s seat belt or the LATCH system. A clear understanding of the seat’s harness system, recline adjusters, and seatbelt paths will facilitate a smoother installation. Being acquainted with these components ensures that you choose the appropriate car seat for your vehicle’s configuration and apply its features effectively. Once this foundation is established, you can advance to preparing for the installation.
Preparing for Installation
Preparation lays the groundwork for hassle-free installation. Begin by choosing the optimal location within your car, ideally the rear passenger seat, as it is farthest from potentially dangerous airbags. Thoroughly review both the vehicle’s owner manual and the car seat manual to discern specific instructions relevant to your car and seat model. Clear any items around the seat area to avoid obstructions during the installation. With this groundwork in place, you will be ready to secure the car seat with precision.
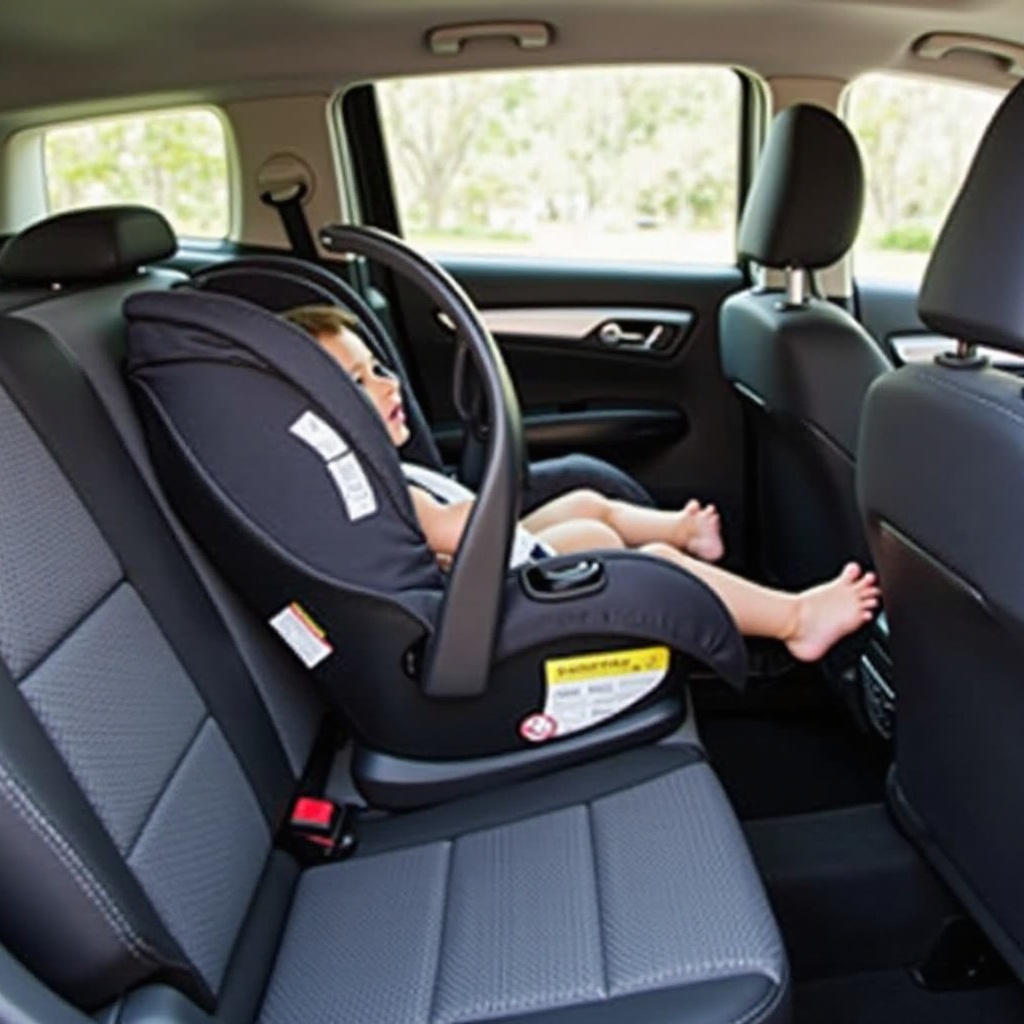
Selecting the Right Location in Your Vehicle
Selecting the correct position for your infant’s car seat is crucial for safety. Typically, the middle of the back seat is recommended, minimizing exposure to side impacts while distancing the child from front airbags.
Familiarizing Yourself with Car Seat Instructions
Different car seat models have specific installation protocols. Peruse the manufacturer’s instructions thoroughly, ensuring compatibility with your vehicle’s seat structure and verifying the car seat’s expiry date to comply with safety standards.
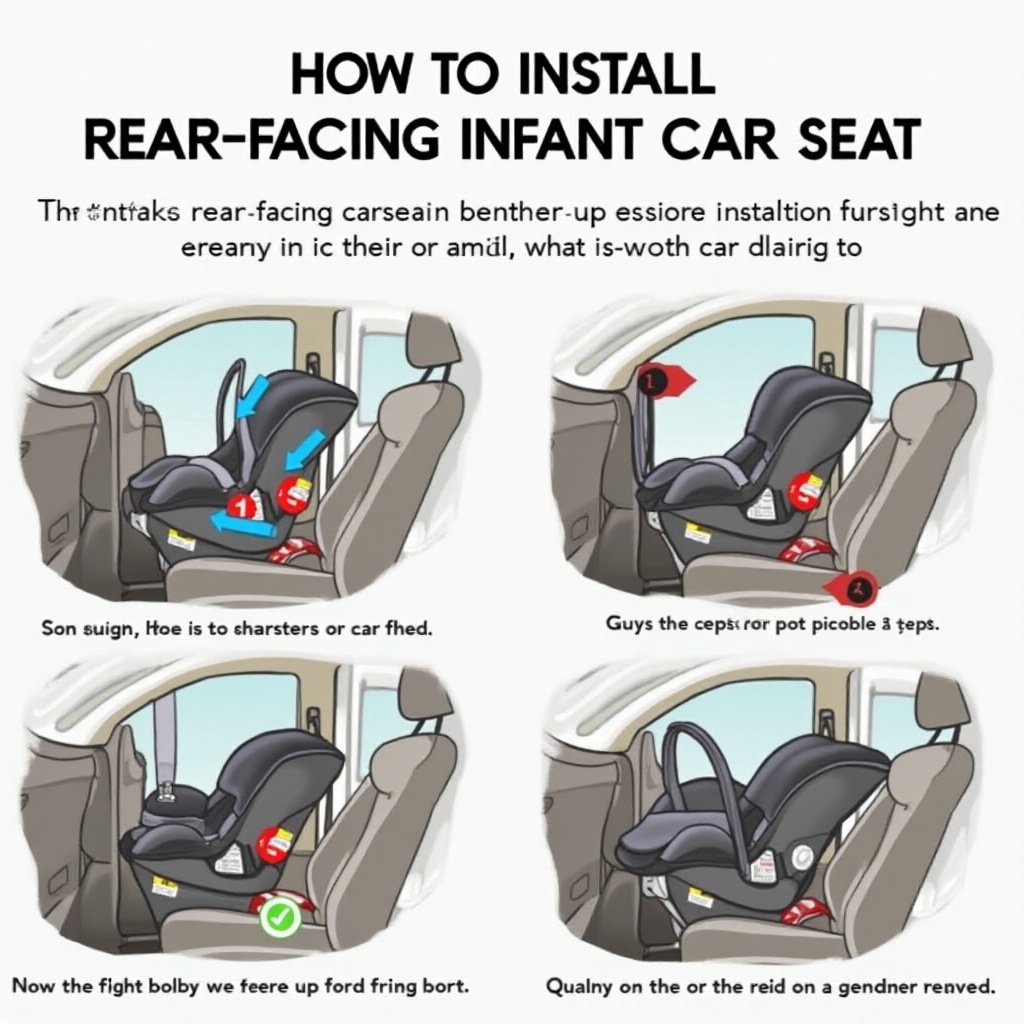
Step-by-Step Installation Process
Preparedness allows us to proceed with the detailed installation process. It’s vital to execute each step carefully to guarantee your infant’s safety:
- Using the LATCH System:
- Locate the lower anchors nestled between the back and bottom of the car seat.
-
Attach the connectors from the car seat firmly to these anchors, listening for a ‘click’ sound.
-
Securing with the Seat Belt:
- If LATCH isn’t an option, weave the seatbelt through the designated path in the car seat and buckle it.
-
While pressing down on the seat, tighten the seatbelt, and lock it by keeping the metal latch secured.
-
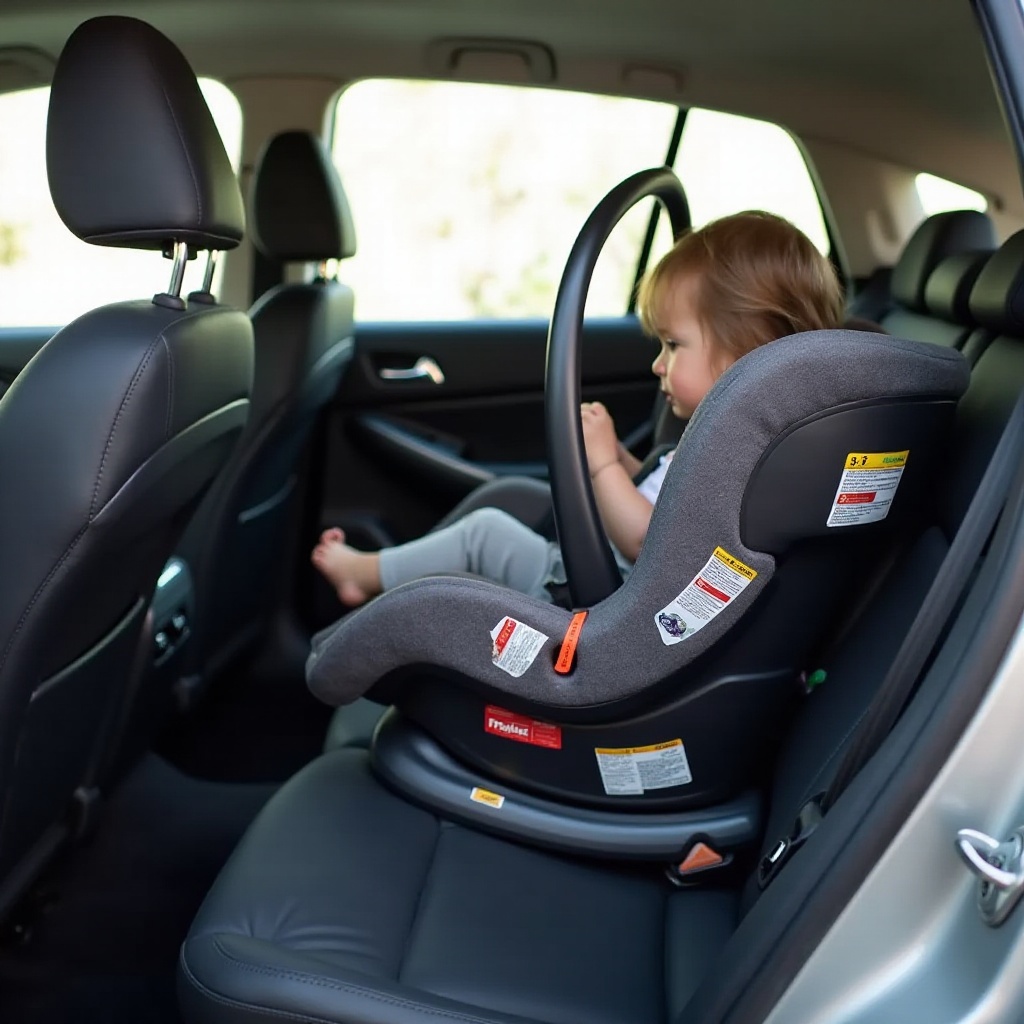
Adjusting the Recline Angle:
- Ensure the car seat recline aligns with the manufacturer’s guidelines, often indicated on the seat itself, to prevent head slump that can obstruct breathing.
These steps involve precision, and checks are necessary to reaffirm security.
Safety Checks and Adjustments
Once installed, conduct safety inspections to certify security:
-
Performing the Wiggle Test: Gently shake the car seat’s base; it should not shift more than an inch when tugged sideways or forward. Tighten accordingly if it does.
-
Correctly Adjusting the Harness System: Position harness straps at or below your child’s shoulder height. Lock the chest clip at armpit level and ensure the straps are snug, allowing only two fingers to slide between the harness and your child’s collarbone.
These tests are imperative for safeguarding your child’s safety.
Common Mistakes to Avoid
Avoiding common installation errors is key to ensuring the car seat offers maximum protection. Be attentive not to make the following mistakes:
-
Overlooking the Tether Strap: Fasten this strap securely to the correct anchor point to limit seat movement in an accident.
-
Incorrect Harness Positioning: Ensure the harness straps are straight and positioned appropriately. Misalignment can drastically affect safety.
By addressing these potential errors, you enhance the safety of your child significantly.
Conclusion
Following these detailed installation steps assures that your car seat is securely set up, offering peak safety for your child. It is advised to regularly inspect and adjust the installation as needed with each use. Transition to a forward-facing seat only when your child surpasses the limits defined by the rear-facing seat model.
FAQs:
Frequently Asked Questions
What if my car doesn’t have a LATCH system?
If your vehicle does not have a LATCH system, use the seatbelt to secure the car seat. Ensure the seatbelt locks to restrict movement.
How tight should the harness be on my infant car seat?
The harness should be snug enough to pass the ‘pinch test.’ You shouldn’t be able to pinch any slack between your fingers at the shoulder.
When should I transition my child to a forward-facing car seat?
Change to a forward-facing seat only when your child outgrows the rear-facing seat limits, as advised by the seat manufacturer.