
How to Add an Attachment to an Email on iPad
Introduction
Managing emails on an iPad offers unmatched convenience for both professional and personal communication. However, many users struggle with attaching files effectively. Being adept at attaching files can enhance your email interactions significantly, saving you time and effort. In this comprehensive guide, we aim to demystify the process of adding attachments on an iPad. You’ll find step-by-step instructions, troubleshooting tips, and productivity hacks to enhance your emailing experience.
Setting Up Your iPad for Email Attachments
Before attaching files, it’s crucial to ensure your iPad is well-configured for email operations. Start by setting up your email accounts properly. Open the ‘Settings’ app, navigate to ‘Mail,’ and tap ‘Accounts.’ From there, add your email accounts by choosing ‘Add Account’ and selecting your email provider. Enter your email credentials to complete the setup.
Next, customize your mail settings for optimal performance. Navigate to ‘Settings’ again, scroll to ‘Mail,’ and adjust preferences under ‘Download Attachments.’ This ensures any received attachments are automatically available, facilitating a smooth emailing process.
Having configured your iPad, you’re ready to proceed with attaching files engagingly and efficiently.

A Step-by-Step Guide to Adding Attachments
Attaching files to emails on your iPad is a straightforward process when broken down into simple steps:
- Attaching Files from the Files App:
- Open the ‘Mail’ app and initiate a new email by tapping the ‘Compose’ icon.
- Tap within the email body, which will bring up the keyboard.
- Locate and tap the ‘paperclip’ or ‘add attachment’ icon on the toolbar.
-
Navigate through your ‘Files’ app to find and select the file you want to attach. The selected file will appear as an attachment in your email draft.
-
Attaching Photos and Videos from the Photos App:
- In your new email, tap within the text body.
- Tap the ‘picture’ icon, which lets you access the Photos app.
-
Browse and select the photos or videos you want to attach, then tap ‘Done’ to insert them into your email.
-
Adding Attachments Using the Share Sheet:
- Open the app where the file you wish to share is located.
- Select the intended file.
- Tap the ‘Share’ icon and choose ‘Mail’ from the sharing options. This adds the file to a new email draft automatically.
Understanding these methods provides the flexibility needed to handle various attachments, increasing your proficiency in sending emails.
Troubleshooting Common Issues with Email Attachments
Despite the clear process, you might face challenges with attachments. Here’s how to troubleshoot common issues:
-
Resolving File Size Limitations: Large files may exceed the size limits for email. To counter this, compress files before attaching them or use cloud storage services like iCloud or Dropbox. Share a link instead of the file to facilitate easier sharing.
-
Ensuring File Compatibility: Some recipients may find it hard to open certain file formats. Make sure your attachments are in universally accepted formats like PDF, JPG, or DOCX to avoid these issues.
-
Fixing Upload Errors: If you experience errors while uploading, check your internet connection first, as a strong, stable connection often resolves such issues. Restarting your device or the Mail app can also help.
Addressing these potential hurdles enables a smoother and more reliable emailing process.
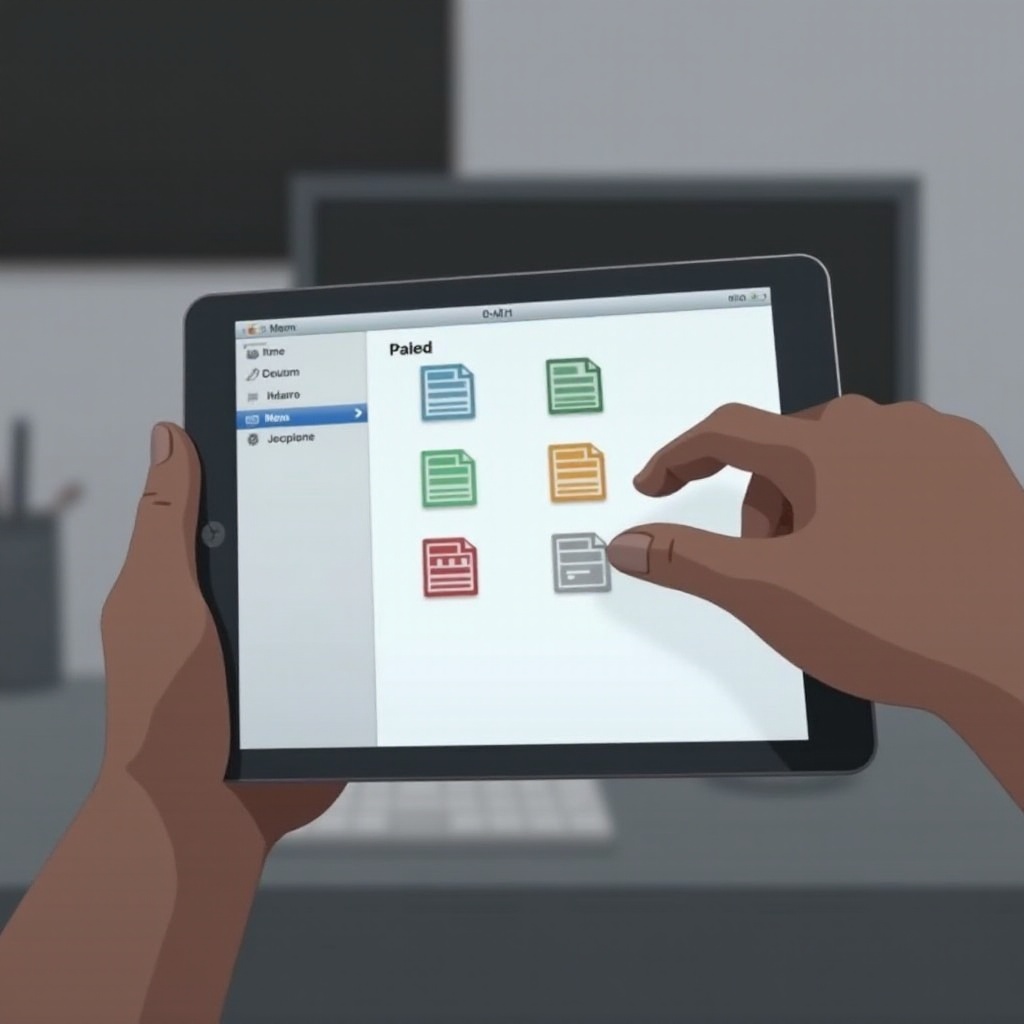
Enhancing Your Email Productivity on iPad
To maximize your iPad’s potential, consider adopting the following practices to boost productivity:
-
Using Keyboard Shortcuts: Familiarize yourself with the keyboard shortcuts specific to the Mail app to navigate more efficiently and perform tasks quickly.
-
Integrating Cloud Services: Connect services such as iCloud, Google Drive, or Dropbox to your Mail app. This integration allows easier access to files, making attachment and sharing seamless.
-
Organizing Attachments Efficiently: Create folders and name files systematically in your ‘Files’ app. This organization helps you find what you need promptly without sifting through unnecessary clutter.
Implementing these strategies will keep you organized and efficient when handling emails on your iPad.
Conclusion
Mastering the skill of attaching files to emails on your iPad can significantly enhance both productivity and communication. By understanding the detailed steps, you can efficiently handle various file types. Plus, the troubleshooting tips provided equip you to manage any issues that arise. Consistently practicing these methods will ensure smooth email interactions, allowing you to leverage your iPad’s full potential. If needed, revisit these guidelines to stay confident in your workflow, and enjoy the streamlined email management system offered by your device.
Frequently Asked Questions
How do I attach large files to an email on iPad?
To attach large files, consider using a cloud service like iCloud or Google Drive. Upload your file to the cloud and share the link in your email, allowing the recipient to download it directly.
Can I attach multiple files at once in an email on my iPad?
Yes, you can attach multiple files by selecting more than one item in the Files or Photos app. Utilize the ‘Select’ option, choose your files or photos, and share them via email.
Why won’t my attachment open on the recipient’s device?
Ensure the file format is compatible with the recipient’s device. Common formats like PDF, JPG, and DOCX are usually safe choices. If issues persist, suggest the recipient updates their software or uses a compatible viewer.